Creating My First Online Course - Where Do I Begin?
If you are new to the online learning arena and are considering developing a course for your organisation or to generate additional income for yourself by selling your expertise through courses, then this post is for you.
We're going to give you an insight into the five stages of course development so that you can kick start the process, get some ideas out of your head and onto paper and begin to create an outline of how the course could take shape.
Bridging the Gap
The first principle to understand is that teaching and learning are all about bridging the gap—the gap between where the student is and what the student wants to achieve.
It's this gap that the teacher needs to help the student bridge through a series of steps. Each step moves the learner closer to their goal.
The student wants to resolve a problem, rid themselves of difficulty, lack, or challenges that make life more painful and awkward than it needs to be. It's our role as course designers to develop a path the student can follow that gets them from where they are now to where they want to be.
Understanding the student's starting point is, therefore, essential. We need to know where they are starting from, where's the beginning of their journey.
We can do this by assessing their needs through surveys, assessments, interviews, listening to them talk about their challenges, watching them, and reading comments they leave in forums. They are gathering evidence that helps us both where they are and what they are trying to achieve.
Once we understand this, we can begin to design the process to bridge the gap.
The Five Phases of Bringing Your Course to Market
We work through the following five phases for bringing our courses and those of our clients to market.
1. Planning Your Course
This phase is where we do our research about the student, their needs, and how big a gap we need to bridge. We also validate our course idea at this stage to see if people will buy it, and this is especially relevant when you have an idea for a course yourself and haven't yet received any feedback from your potential audience that a need even exists.
Planning an online course also includes doing some competitor research and getting ideas around prices too. At this stage, however, you don't design any content nor even a curriculum.
2. Designing Your Online Course
Once you have done sufficient research, validated the idea, and proven to yourself that it's worth moving forward on and you have a solid understanding of your ideal audience then it's time to start the design process.
You design the journey or the path, and the individual steps the learner has to go through to bridge the gap so that they can achieve the transformation they're seeking.
Each module represents a particular subject theme for the course. The lessons within the theme break that theme down into smaller bite-size chunks. These allow the student to move forward with their learning step by step.
A short course that takes the student no more than 30 minutes to complete may have just one module and a few short lessons.
So the design phase plots that journey is bridging the gap with themed "chunks of content" that are taken in smaller steps or lessons.
The design phase is also where we consider the way to bridge that gap. We believe the type of activity and input we want the step to offer so that the student engages with the content. A course with a variety of methods of delivering the learning is going to be more engaging for the student. So consider when to use the following in your lessons:
- Videos
- Audio clips
- Text-based lessons
- Quizzes and assessments
- Interactive components
- Worksheets and other resources to download and use
- Forums or community areas to access
- Reading materials and links to follow up.
- Working with other students
Use Post-It Notes to Help You Design
Whichever way you work, chose an approach that suits you best. We find that being able to move things around and step back to get the big picture is beneficial to us. We nearly always start with a brainstorm of ideas and then move to the use of Post-It notes that help us structure the course. We write down the module and lesson titles and a few keywords onto Post-It notes and then move these around until we have mapped out the student's path. Each sticky represents a step on the student's journey.
Inevitably ideas and thoughts mature, so the sticky notes have to be moved until we have the optimum structure. And by working on a wall, window, tabletop, or other large flat areas, we can always take a step back and review the whole course.
Once you have designed the course, then you are ready to begin the creation process. Up until now, all your work has been on paper. The next stage is to create the actual materials that make up the course.
3. Creating Your Online Course
The creation phase is where the effort in our design phase now gets turned into actual assets. These are the resources students will watch, listen to, and use as part of their learning experience.
This phase is where we develop and create the slide decks, videos, audio files, worksheets, etc that we said we would be needing when we designed the course. Phase 3 is the production phase. We are creating.
4. Publishing Your Online Course
This phase is where we finally get to put that content onto a platform so that all the modules and lessons are accessible by the students. Dozens and dozens of different platforms can host your course.
Your course is "hosted" on a platform, and below is an introduction to what this means and what options are open to you. You can read it after we mention the final phase, which is Promoting.
5. Promoting Your Online Course
Finally, we get to promote the course, so this phase covers all the actions necessary to get your course in front of the audience. Some of this work can be done even before you design your course so that you are marketing it before its completion, something we'll discuss in a later post.
So there you have it five phases from getting your course from an idea to live in the market.
Now we promised to go deeper into hosting your course so below you'll find that additional content. We hope it helps you further.
An Introduction to Hosting Your Online Course
First, let's go through some basic principles which will help you understand some vital terminology and approaches to hosting.
Every website consists of a collection of files that are hosted on a server somewhere around the world. All the pages of the site are accessible through an internet protocol or IP address which is a number such as 104.28.29.99.
Then computers called Domain Name Servers (DNS) link these numbers to a particular domain name or web address. So this linking enables anyone to find a website without having to remember long numbers. We just need to know the website's address. Every second of the day, people all around the world simply type in a web address and the site appears in their browser without them ever having to remember any numbers.
In the past, only computer programmers and web developers and other IT geeks could manage the files for these websites. However, nowadays, even though technology has advanced significantly course, creators can do this work.
We have access to what are called Content Management Systems (CMS), and these allow non-techy people like you and me to edit or manipulate course and website files and content without having a formal computer or web development background.
We can add content and change the way our website looks and what it presents to the user. So in the case of courses, we can use a CMS to create our courses and manage everything to do with them without ever knowing the web technology behind it. We still need to learn how to use the CMS itself, but these are relatively easy to learn to use.
There are three options for hosting your courses, and you need to understand the critical differences in these; otherwise, it'll all get confusing. In each case, a CMS is used.
Let's start with self-hosting platforms first.
Self-Hosting Platforms
When you publish your courses on a self-hosting service, everything becomes your responsibility. An example of this is the WordPress.org platform. Here you're using the freely available WordPress technology to set up your website and then publish your course on your own site.
You still need to use a service provider that hosts websites, but you are in control of the entire site and everything it does, the features it has, its look and feel, software updates that are required, and so on. The hosting service isn't interested in what you are hosting. They just charge you a fee for the privilege of borrowing some of their computer space.
There are millions of websites and blogs running on Wordpress. In fact, it's estimated that approximately 22% of the world's websites run on this platform.
However, the learning curve is steep, the software needs updating from time to time and to publish your courses you'll need to buy special course plugins. These are bits of software that you plug into your Wordpress site allowing it to publish your courses.
We began using WordPress ourselves several years ago but found it too burdensome to manage all the elements required as we grew our business. There is a steep learning curve and lots of different components to manage let alone the issues regarding security and avoiding being hacked. But despite this self-hosting is one choice you have and if you do research of your own you are going to come across WordPress.
So your first option is to use a self-hosted service.
The next option is to use one of the course marketplace platforms available.
Course Marketplace Platforms
A course marketplace will host your courses for you and promote and sell them for you to the customers they attract to the marketplace. It's like taking your homemade jams and preserves along to your local supermarket.
The supermarket could attract far more customers to see your products than you could do on your own if you were selling them in your village store. So a marketplace can give you a great place to sell your products.
They manage all the marketing and promotion, which gives you the chance to focus on sharing your expertise and work on the course creation process. But just like the supermarket, they will want you to pay for that service. It's not going to give you shelf space for free.
No just like the supermarket selling jams where you'll expect to see your competitor's jams alongside yours, course marketplaces also host competitor courses too. So your course is likely to sit on the same shelf as those from other tutors, with the same or similar subjects for sale.
I mentioned earlier about using content management systems or CMS's, well all course marketplaces have these in place that allows you to create your course online and publish it. But you have to do this work all on your own. So not only do you have to create the content but you then have to create the course outline, upload all your files using the CMS and get everything configured and working.
Why Choose A Marketplace
There are several reasons why tutors opt to use course marketplaces.
The number one reason is that your course gets in front of relevant audiences. If the marketplace is promoting your courses you can be sure they are promoting them to the right audience. The world's biggest course marketplace has over 14 million students and over 42,000 courses on offer.
Course marketplaces also act as the interface between you and your students, so that all the customer service, billing issues, branding, and hosting fees are all managed by the marketplace platform. This eliminates all the day to day tasks that are involved and frees you to update and add new course content. To have a minimum quality standard, the marketplace host also manages quality control, legal issues and technical support for the course authors.
I see four key advantages to this:
1. Access to an existing and often substantial user base.
2. Guidance and support.
3. Marketing.
4. All technical issues, billing, and general customer service issues handled.
But as you'd expect, there are some disadvantages too. I see these as:
1. You are dependent on the platform since the hosts are taking care of everything.
2. The students are the platform's customers since the platform relies on the relationship with the student to sell other courses to, so they don't want you to start pinching their customers so you will never get access to the student's contact details for example.
3. If the platform's rules change at any time, you could find this works against you.
4. In most marketplaces, there's fierce competition since your students get to see your competitor's courses alongside yours.
5. Not all course rating systems are fair, and you may find these put your courses at a disadvantage vs the competition and there's very little you can do about this. If a student rates your course poorly, the marketplace's rules apply regardless of how you feel about the review.
Current Course Marketplaces
There are around ten marketplace platforms you could consider. Each of which has their unique features and advantages and disadvantages, but remember your courses will be mixed up with all sorts of other subjects.
Ok, so that's course marketplaces which now brings us to our third choice.
Course Hosting Platforms
There are currently over 20-course hosting platforms to choose from. Most of these allow you to start without any fixed costs through their free account setups. Most, however, will take a percentage off each of your sales. If you need additional features, these usually come when you pay a monthly fee.
They all allow you to set up your courses, with your website, landing pages and e-commerce functions enabling you to sell courses. But there is no marketplace to sell your courses in so you are not competing with other tutors selling courses next to you, but then you don't have any students being brought to you either. All the marketing and promotion comes down to you.
Again you will also need to learn all about the configuration of the CMS.
Almost all platforms focus on video-based training, and most platforms provide some form of interactions between students and the course teacher typically through discussions.
I've listed the key course hosting platforms that you are likely to come across.
We use Kajabi. We love it for its simple interfaces, outstanding customer service and the vision they have for empowering individuals to create courses and sell their expertise online. I can't recommend them highly enough.
Having your courses hosted on a course hosting platform means you can brand the course and the entire student experience precisely as you'd like it. Students also have a relationship with you, not with the course hosting provider. This means you are free to promote other courses to your students and can communicate with them freely.
Kajabi (the one we use)
Zenler
Teachable
Thinkific
Learnworlds
Nuvola Academy
Pathwright
Siminars
Kunerango
Coursecraft
If you want more tips and advice delivered to your inbox, drop your details in the box below, and we let you know when we have another post.
Schedule a Free Discovery Call
Are you looking for support in planning, designing, creating, publishing or promoting your online courses? Schedule a call and let's explore how we can help you.
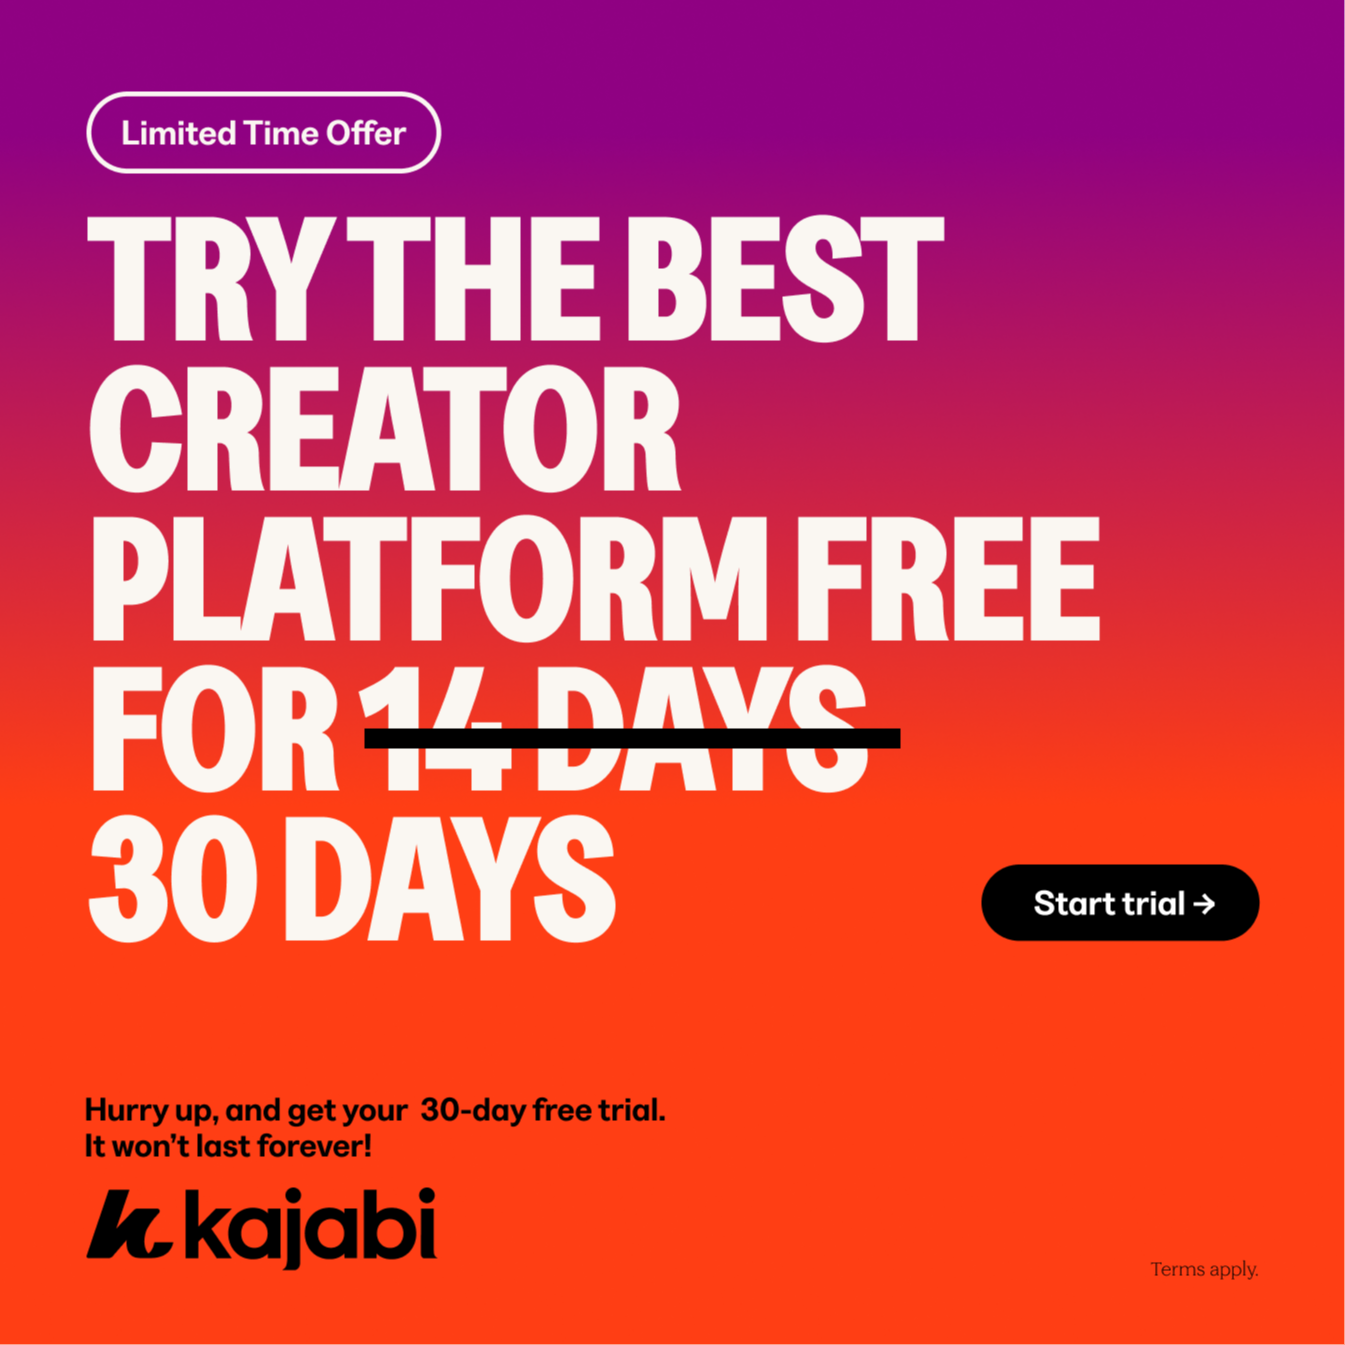
GET KAJABI FREE FOR 30 DAYS
Try Kajabi for 30 days for free.
Stay connected with news and updates!


Get Kajabi Services
We’re Certified Kajabi Experts with 15 years of hands-on Kajabi experience and 25 years of instructional design expertise, combining platform mastery with powerful learning strategies to build online course businesses that truly thrive.
From big-picture growth strategy to fully “Done-For-You” implementation, we manage every detail with precision—so you can stay focused on serving your audience. We don’t just build courses; we design transformative learning experiences that convert, engage, and retain.
Our mission is simple: unlock the full potential of your Kajabi account, maximise your ROI, and create programs your students love, and keep coming back for.

50% Complete
Add Your Details
Add your details and we will email you helpful advice and insights. You can unsubscribe at any time.